Car Upholstery Repair for Classic Cars [Step by Step Guide]
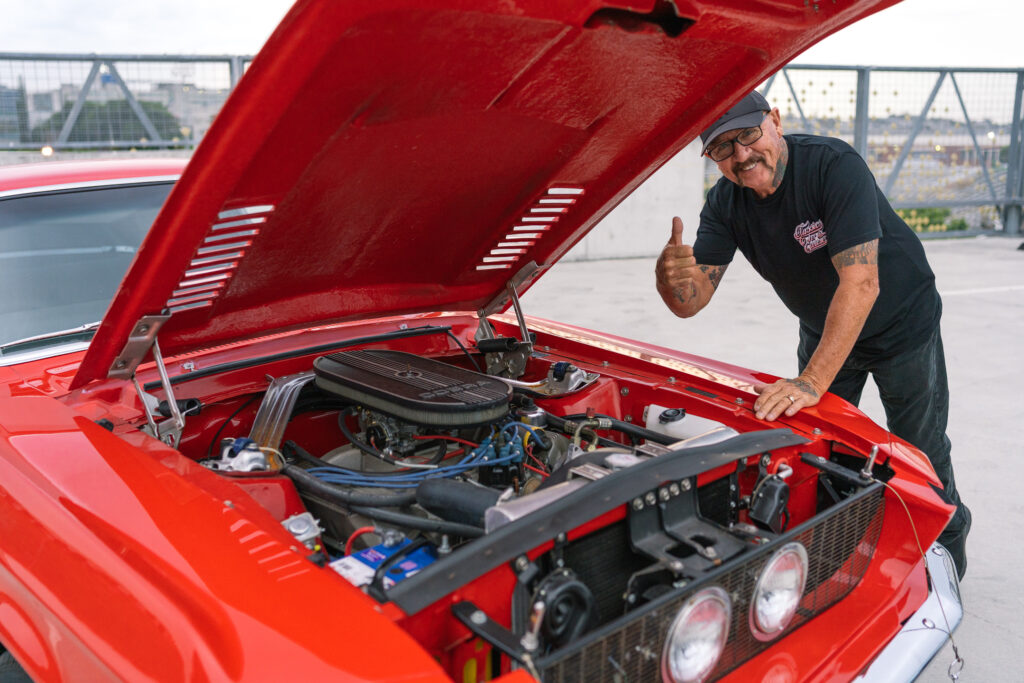
Welcome back to Patty’s Garage, mate! Today we’re talking about car upholstery repair for classic cars with quick step-by-step guides on how to do it yourself. Repairing the upholstery of classic cars is one of my favourite car repairs I do with Classics for a Cause and I’m keen to share my tips.
Let’s go!
Why Do Car Upholstery Repair for Classic Cars
So, before we get into the actual types of car upholstery repairs you might want to do on your classic cars, you’ll want to have a think about why you would do these kinds of repairs in the first place.
In my eyes, the three main benefits of DIY car upholstery repairs include:
- Personalisation
- Improving comfort
- Adding resale value

Personalisation
One of the best parts of doing car upholstery repairs on classic cars is the fact that the end result is fully in your hands. Sure, you may just want to fix a rip in your seats but if you’re looking to totally start new, you’ve got full control and can personalise your interiors however you’d like.
From installing sexy velvet or creamy leather, there are heaps of options for custom upholstery to make your beauty of a car that much more eye-catching.
Choose your favourite patterns and materials and completely revitalise the inside of your classic car. Especially because, in most cases, classic cars will be overdue for an upgrade, repairing the upholstery is a fun way to make it your own.
Improve Comfort
We’ve all probably experienced the discomfort of sitting on car seats full of rips and stains. Sure, the exterior of your car might be absolutely stunning but if the interiors are torn or simply gross, that’s not on, mate! Plus, if your dashboard is falling apart or the carpets on the floorboards are beyond salvaging, it’s time you thought about some repairs.
So, to improve the comfort of driving your classic car, car upholstery repairs are a must. There are easy ways to fix rips and tears in your upholstery and more complicated ways to redo everything from the seats to the floors to the dashboard. But overall, if you want to improve the comfort of your classic car, upholstery repair is the way to go.
Add Resale Value
If you’re like me, you’re probably looking to hold onto your classic car for dear life. No way would you sell her unless absolutely necessary! But, sometimes life happens and you just never know when you’ll need a valuable asset on your side when times get tough.
Car upholstery repair is a killer way to add resale value to your classic car. Switch out the deteriorating seats for new leather or upgrade the centre console to have modern features like USB ports and more.
But, beware that if your car upholstery DIY project isn’t up to snuff, it can also decrease the resale value of your classic car just as easily. So, make sure you do a bloody good job!

Downsides of Car Upholstery Repair for Classic Cars
Ok, so there are a few potential downsides of doing car upholstery repair on your classic cars so let’s go over them quickly. Then, we’ll get into the nitty-gritty details of how to actually get started.
In my garage experience, the biggest downsides of car upholstery repairs include:
- Issues with insurance
- Needing certain DIY skills
Issues with Insurance
As with any DIY car repairs, there’s always a chance that you’ll run into issues with your car insurance.
And it makes sense since your insurance is there to protect you from mishaps and if you do a dodgy job at fixing something, there’s no way to prove that the DIY repair wasn’t the cause of the issue.
So, if you’re not super skilled in the garage, you may want to leave it to the pros.
DIY Car Repairs Can Be Tricky
Another potential downside of doing your own car upholstery repair is the fact that these kinds of fixes can be tricky and if you don’t have certain DIY skills, there’s a chance that you won’t be happy with the job you’ve done.
So if you’re a perfectionist or you want that super profesh look, you may want to stray away from DIY altogether. Nothing wrong with leaving it to the mechanics.
Most Common Car Upholstery Repairs
So, what are the most common car upholstery repairs you might need to DIY? The truth is, a full upgrade of your upholstery is a massive job. It’s possible, but you’ll probably just want to leave that to the guys who know what they’re doing.
That means that minor upholstery repairs are what we’ll go over here. Let’s go step by step through how to do some of these common fixes.
Fix Rips or Tears in Car Upholstery
It’s so easy to get rips and tears in your car’s upholstery, especially if you own a classic car with older seats.
Gashes from rogue car keys or simple wear and tear can mean rips in the upholstery. Here, we’re showing you how to repair rips in both vinyl/leather and fabric/cloth seats.
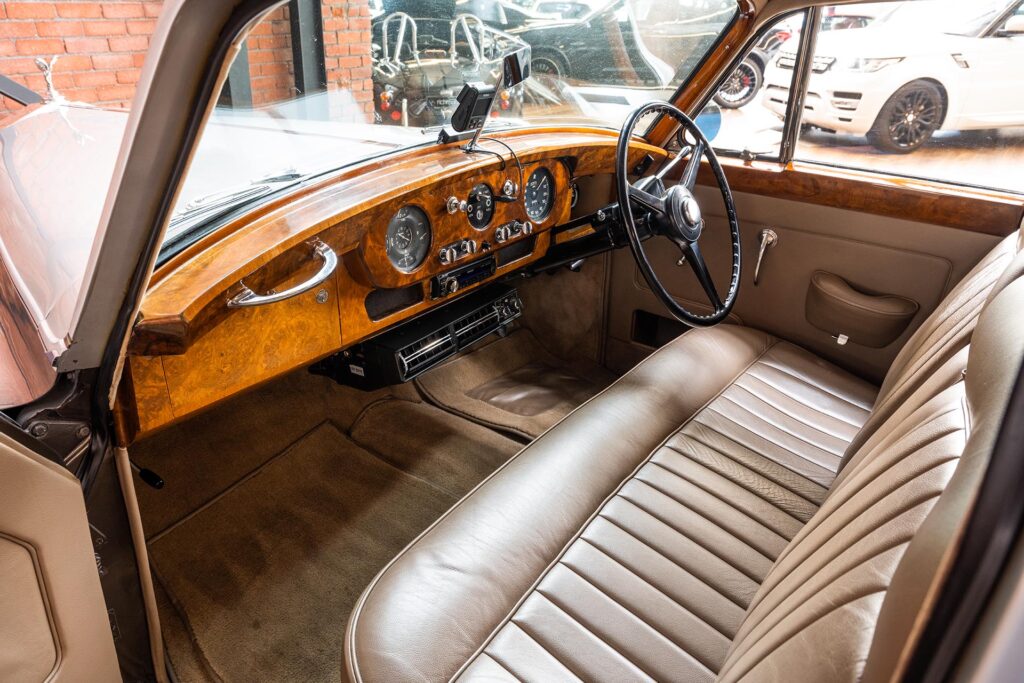
Repair Vinyl or Leather Seats
In most cases, a DIY seat repair for vinyl or leather seats can be done by an average hobbyist. It’s time to say goodbye to ugly duct tape and drawstring seat covers!
For damages when the vinyl or leather splits and you have access to both sides of the rip, you can glue the torn piece to the back of the rip and firmly hold the gap closed while waiting for the glue to dry.
As an old-school guy, I prefer glue over other adhesives, but you also have this option. Professional upholsterers can set up adhesives quickly. For non-professionals, glue is easier to apply and remains flexible after drying. It is also water-soluble for cleanup.
After repairing the tear with glue, it’s time to refinish it with Liquid Leather! I’ve provided steps below:
- Ensure the liquid leather matches perfectly with the leather colour of your car’s seat.
- To remove any residue, clean your leather seats with leather cleaner on a soft cloth.
- Apply diluted liquid leather with a sponge to worn areas. Let the liquid dry then apply another coat to strengthen the colour if necessary.
- After the worn areas have dried, apply an even coat of liquid leather to the entire seat. This will ensure that the whole seat is the same colour and will make repaired areas less noticeable.
- Use a leather conditioner to prevent further cracking. Apply the conditioner with a soft cloth to the entire seat and wait it to dry fully before sitting on the seat
Repair Fabric or Cloth Seats
The way to repair cloth seats is much quicker! If you have to fix a simple tear in fabric seats, you only need to purchase an upholstery needle and some extra-strong thread which matches the colour of your seats. After that, follow steps below:
- Put one hand on each side of the tear and get the tightest seam possible with your other hand.
- If you missed any of the cushion underneath your seat, fill it in with padding from a craft store before re-sewing it.
- Make sure not to pull the thread too tightly since it could break and you may need to start it over again.
- Use fabric sealant to paint both sides of the repair once the tear has been completely closed up.
It might be a good idea to practice on another piece of fabric until you master your stitch if you’ve never sewn upholstery before.
Car Upholstery Repair for Carpets
The process to repair car upholstery floors is pretty straightforward. The whole operation can take much less time than ordering new carpet and removing everything.
Here we’ll be going over how to fix a hole in your car’s carpet. Grab yourself some carpet that matches the colour and texture of your car’s current flooring (you can usually find some that you don’t need up the dashboard or in the backseat) and follow these steps:
- Using some stiff card stock and a razor blade, cut out a square large enough to cover the damaged area.
- Place the card stock square over the carpet and use it as a stencil. Cut out a “carpet square” that’s the same size as your damaged area.
- Check the fit of your patch. The pattern should run in the same direction as the rest of the carpet.
- Flip the damaged carpet over and use a vinyl covered material that’s larger than the hole by about 5 cm on all sides to trace around with a marker. You’ll have the hold in the middle and a marked area with about 5 cm of space on all sides of the hole.
- Put a generous amount of hot glue on the area. Hot glue has much stronger bond than your average craft store glue. Press the vinyl piece (cloth side down) onto the back of the carpet where you put the hot glue.
- Flip over the carpet and test the size of your small patch of extra carpet. If it fits, add more hot glue to the cloth side of the vinyl piece to place the patch.
- After that, flip the carpet over again and use a hot iron (wool setting) and press it into the vinyl backer for a few seconds. With the heat and pressure from the iron, the glue will re-soften and spread into the back of the carpet.
- Blend the new piece of carpet with the existing carpet with your fingernails and you’ll never even know there was a hole there!
Pumped to try out these new repairs? Save heaps on essential auto parts with our VIP club membership, which provides access to discounts from over 200 Auto retailers and services providers within Australia; as well as getting exclusive access to classic car giveaways.
It makes those DIY repairs that much cheaper and puts you in the running to win some of the most iconic classic cars on the market.
If this all sounds pretty sweet, then be sure to sign up today! Join now and I’ll see you next time.